22 Coolest Travel Gadgets 2024: Essential Gear for Your Next Adventure
Are you an avid traveler looking for the latest and coolest travel gadgets to enhance…

Are you an avid traveler looking for the latest and coolest travel gadgets to enhance…

In today’s modern world, technology has infiltrated every aspect of our lives, including our bathrooms….

In today’s fast-paced world, convenience is key, even when it comes to doing laundry. Portable…
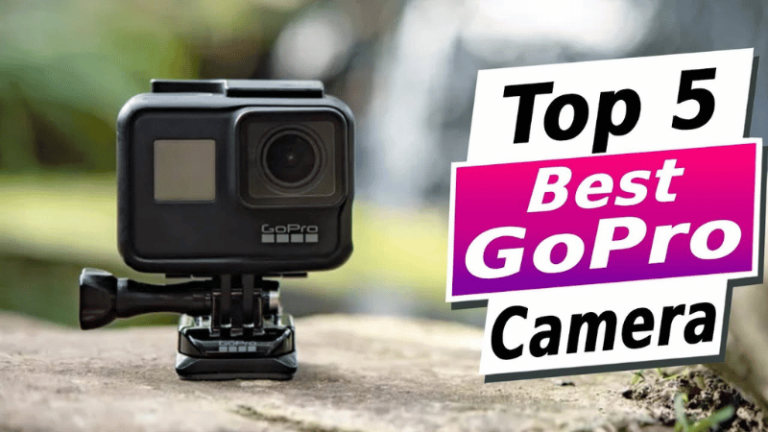
If you’re an adventure junkie or a content creator in search of the perfect action…

In the world of gaming and productivity, having the right tools can make all the…
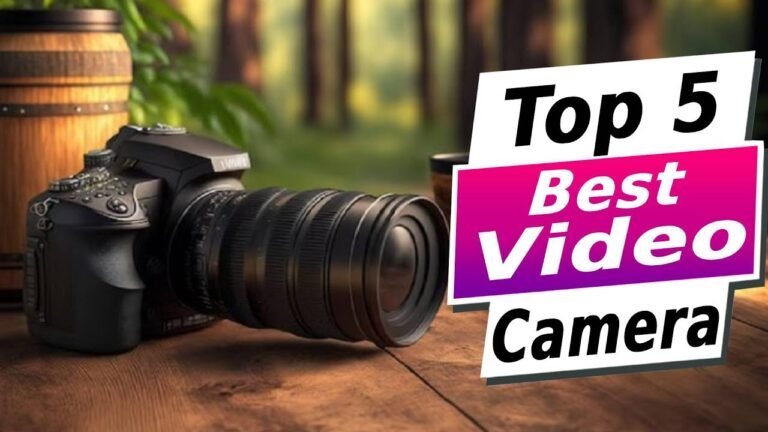
Choosing the best video camera can be a daunting task with the plethora of options…

In the world of tablets, Windows-based devices offer versatility and power. With the market flooded…

In today’s fast-paced world, having a reliable tablet with a keyboard can significantly enhance productivity…

In today’s tech-savvy world, touchscreen laptops have become indispensable tools for both productivity and entertainment….